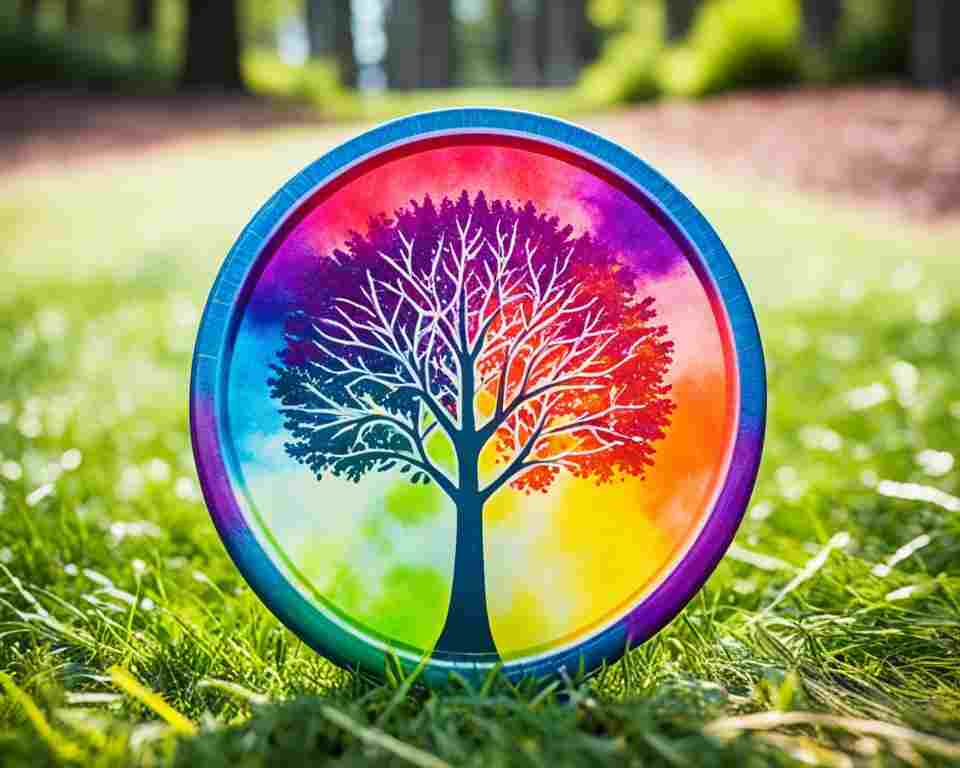
As a disc golf enthusiast, you may be wondering if it’s possible to spray paint your disc golf discs to add a personal touch. The good news is that spray painting disc golf discs is indeed possible and offers a creative way to customize and personalize your equipment.
Customizing your disc golf discs with spray paint allows you to showcase your unique style on the course. Whether you want to add vibrant colors, intricate designs, or even your own artwork, spray painting offers endless possibilities for customization.
But before you grab your paint cans, it’s important to consider a few factors. Proper preparation, choice of paint, and technique are all essential for achieving high-quality and durable results. In this article, we’ll guide you through the process of spray painting disc golf discs, providing you with valuable tips and insights to help you create stunning custom designs.
So, let’s dive into the world of spray paint disc golf discs and discover how you can transform your equipment into unique works of art!
Key Takeaways:
- PDGA tournament discs can’t have “detectable thickness” substances like paint or stickers.
- Spray painting disc golf discs is possible and offers a creative way to customize your equipment.
- Proper preparation, choice of paint, and technique are important for achieving high-quality results.
- Customizing your disc golf discs with spray paint allows you to showcase your unique style on the course.
- Explore different designs, colors, and patterns to create stunning custom artwork on your disc golf discs.
- Ensure durability by following the right steps and using suitable paint for disc golf discs.

Can You Spray Paint Disc Golf Discs?
Spray painting disc golf discs is indeed possible, and it’s a creative way to customize and personalize your disc golf discs. Many disc golfers enjoy the process of adding unique designs, colors, and patterns to their discs using spray paint. However, there are some important factors to consider before you start spray painting your disc golf discs.
Firstly, it’s crucial to choose the right type of paint for your disc. Look for spray paint that is suitable for use on plastic surfaces and is designed to adhere well. This will help ensure that your design stays intact and doesn’t chip or peel easily.
Before you begin painting, make sure to clean your disc thoroughly. Remove any dirt, oils, or debris from the surface, as this will improve the paint’s adherence and longevity. You can use soap and water or a mild solvent to clean the disc, making sure to rinse it well and allow it to dry completely.
Next, it’s a good idea to lightly sand the surface of the disc to create a rough texture that the paint can grip onto. Use a fine-grit sandpaper and gently sand the entire surface of the disc. Be careful not to sand too aggressively, as you don’t want to damage the disc’s flight characteristics.
Once your disc is clean and prepped, you can start spray painting. It’s important to apply thin, even coats of paint, allowing each coat to dry before applying the next one. This will help prevent drips, runs, and uneven coverage. Avoid spraying too close to the disc, as this can cause the paint to become thick and clumpy.
You can get creative with your spray paint design by using stencils, tape, or freehand techniques. Experiment with various colors and patterns to make your disc truly unique. Allow the paint to fully dry and cure before using the disc to ensure that it’s durable and won’t smudge or rub off easily.
Remember, PDGA tournament discs can’t have “detectable thickness” substances like paint or stickers.
Customizing your disc golf discs with spray paint is a fun and artistic way to express yourself on the course. Just remember to choose the right paint, clean and prep the disc properly, and apply the paint in thin, even coats. With a little creativity and attention to detail, you can transform your disc golf discs into works of art.
Unveiling the World of Disc Golf Disc Customization
Disc golf disc customization is a thriving world filled with endless possibilities for creative expression. As disc golfers, we take pride in our equipment, and one way to make our discs stand out is through custom artwork. While spray painting is a popular technique, it is just one of the many methods used to create unique and visually appealing designs on disc golf discs.
When it comes to disc golf disc artwork, there are various techniques that you can explore. Here are some popular ones:
- Spray painting: This technique involves using spray paint to add colors, patterns, and designs to your disc. Whether you want a simple color change or a more intricate design, spray painting provides a versatile and effective way to customize your disc.
- Hydro dipping: Hydro dipping is a method that results in stunning, multi-colored designs on your discs. It involves transferring a design onto the disc’s surface by dipping it into water that has floating paint. This technique creates unique and eye-catching patterns that are sure to make your disc stand out on the course.
- Dyeing golf discs: Dyeing golf discs involves using dyes to add vibrant colors and intricate designs to the disc’s surface, offering disc golfers a preferred choice for showcasing unique style on the course.
- Stenciling: Stenciling is a precise way to create detailed designs on your disc. With stencils, you can easily replicate intricate patterns or logos onto your disc. It provides a clean and professional look that will make your disc the envy of your fellow disc golfers.
- Hand-painting: If you’re artistically inclined, hand-painting your disc can be a rewarding and personal way to customize it. You can let your creativity flow and create one-of-a-kind designs that truly represent your style and personality.
These techniques, along with others like airbrushing and vinyl decals, offer disc golfers a wide range of options for customizing their discs. Whether you’re looking to make a bold statement or add subtle flair to your disc, there’s a technique to suit your preferences.
When customizing your disc, it’s important to consider the type of paint and techniques that are suitable for disc golf discs. Using the wrong paint or improper techniques can affect the flight and performance of your disc. It’s always a good idea to do some research, gather the necessary supplies, and follow painting tips for disc golf discs to ensure the best results.

Customizing your disc golf discs through painting techniques is an exciting way to add a personal touch and make your discs truly one-of-a-kind. Whether you choose to spray paint, hydro dip, stencil, or hand-paint your discs, the world of disc golf disc customization offers endless opportunities for creative expression. Explore different techniques and let your imagination run wild to create stunning artwork that reflects your love for the sport.
Creative Techniques for Spray Painting Disc Golf Discs
When it comes to customizing your disc golf discs, spray painting offers a multitude of creative possibilities. In this section, we will explore one popular technique known as hydro dipping and discuss the essential supplies you’ll need to get started.
Understanding the Hydro Dipping Process
Hydro dipping is a mesmerizing technique that involves transferring intricate designs onto the surface of your disc golf discs. Here’s a step-by-step breakdown of how the process works:
- Choose a design: Start by selecting a design that you want to apply to your disc. This can be anything from psychedelic patterns to vibrant landscapes.
- Prepare the water: Fill a container with water at room temperature. The size of the container should be large enough to fully submerge your disc.
- Add floating paint: Sprinkle a few drops of your chosen spray paint colors onto the surface of the water. The paint will float on top of the water, creating a vibrant and marbled effect.
- Dip the disc: Carefully dip your disc into the water, ensuring that the entire surface comes into contact with the floating paint.
- Remove excess paint: After fully submerging the disc, gently lift it out of the water. Use a clean cloth or paper towel to remove any excess paint from the surface.
- Let it dry: Allow the disc to dry completely before applying a protective clear coat. This will help preserve the design and enhance its longevity.
By following these steps, you can achieve stunning and unique designs on your disc golf discs using the hydro dipping technique.
Ready Your Supplies: What You’ll Need to Start
Before you venture into spray painting your disc golf discs, it’s crucial to gather the necessary supplies. Here’s a list of essentials:
| Supplies | Description |
|---|---|
| Spray paint | Select high-quality spray paint specifically designed for use on plastic surfaces. Look for brands that offer a wide range of colors and finishes. |
| Masking tape | Use this to protect areas of the disc that you don’t want to paint. |
| Sanding material | Before painting, lightly sand the disc’s surface to create a better bond between the paint and the plastic. |
| Clear coat | Apply a protective clear coat after painting to safeguard the design from wear and tear. |
| Water container | Choose a container large enough to fully submerge the disc during the hydro dipping process. |
| Clean cloth or paper towel | Use this to remove excess paint from the disc’s surface after hydro dipping. |

With these supplies in hand and a basic understanding of the hydro dipping process, you’re now equipped to add a personal touch to your disc golf discs through the art of spray painting.
Conclusion
Customizing disc golf discs with spray paint is a popular and creative way to personalize your equipment. Whether you’re looking for a simple color change or want to explore more advanced techniques like hydro dipping, spray painting offers endless opportunities for customization.
By using spray paint, disc golfers can transform their discs into unique works of art that not only look great but also reflect their personal style. Whether you’re an experienced disc golfer or just starting out, sprucing up your discs with spray paint can add a whole new level of excitement and individuality to your game.
When it comes to disc golf disc customization, the possibilities are truly limitless. From bold, eye-catching designs to subtle accents and patterns, spray painting allows you to unleash your creativity and make your discs stand out on the course.
So, grab your spray paint cans, gather some ideas, and let your imagination run wild. With spray paint, you can take your disc golf game to a whole new level of customization and personalization.


