Dyeing a disc golf disc allows you to customize it and add your personal style. With the right techniques, you can create vibrant designs that make your disc stand out on the course. Whether you’re a beginner or an experienced disc dyer, this guide will walk you through the process of dyeing a disc golf disc.
Key Takeaways:
- Learn how to dye a disc golf disc to customize it and make it unique
- Discover different disc dyeing techniques to create vibrant designs
- Follow disc dyeing tips and tricks for the best results
- Explore various disc dyeing designs and ideas for inspiration
- Take care of your dyed disc to maintain its vibrant colors
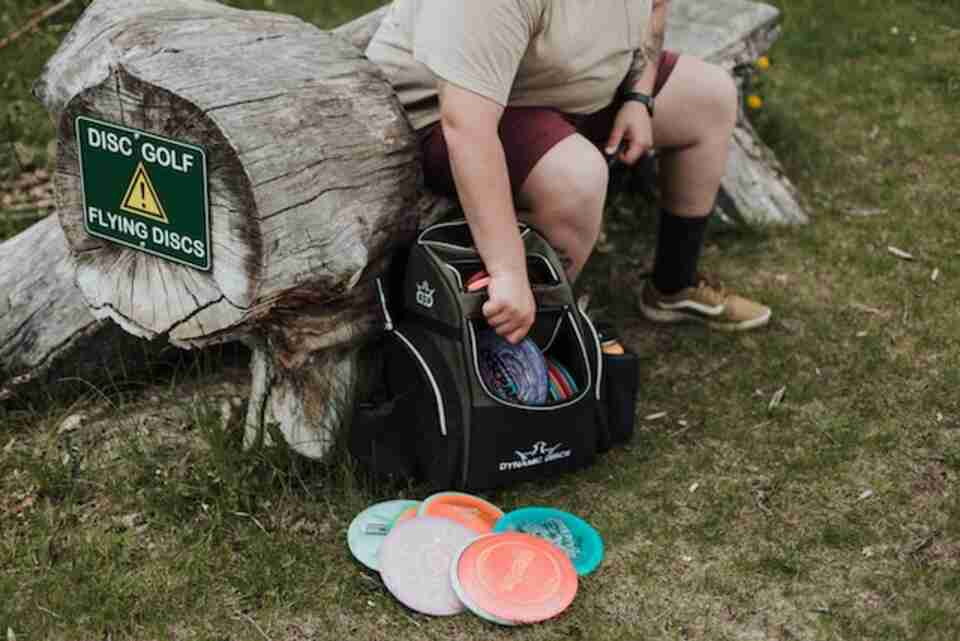
Disc Dyeing Supplies
To dye a disc golf disc, you’ll need a few supplies. These include a container to hold the dye mixture, such as a cake pan or a frisbee. You’ll also need dyes, such as ProChem or iDye Poly (review), as well as acetone or denatured alcohol to mix with the dyes. Other supplies include base materials like shaving cream, clear glue or lotion, popsicle sticks or toothpicks for swirling the dyes, and paper towels for cleanup. Gloves and a magic eraser are also recommended.
Disc Dyeing Supplies
Here is a breakdown of the supplies you’ll need for disc dyeing:
| Supply | Description |
|---|---|
| Container | A cake pan or a frisbee can be used to hold the dye mixture. |
| Dyes | ProChem or iDye Poly are popular options for disc dyeing. |
| Acetone or Denatured Alcohol | These are used to mix with the dyes for application. |
| Base Materials | Clear glue or lotion can be used as the base for the dye mixture. |
| Swirling Tools | Popsicle sticks or toothpicks are used to swirl the dyes on the disc. |
| Cleanup Supplies | Have paper towels on hand for easy cleanup. |
| Gloves | Wearing gloves helps protect your hands from the dye. |
| Magic Eraser | A magic eraser can be used to remove any unwanted dye marks. |
Disc Dyeing Materials
When it comes to disc dyeing materials, the key components include a container, dyes, base materials, swirling tools, and cleanup supplies. These supplies are readily available and can be easily purchased online or at your local arts and crafts store. It’s important to have the right materials on hand to ensure a successful disc dyeing project.
Disc Dyeing Techniques
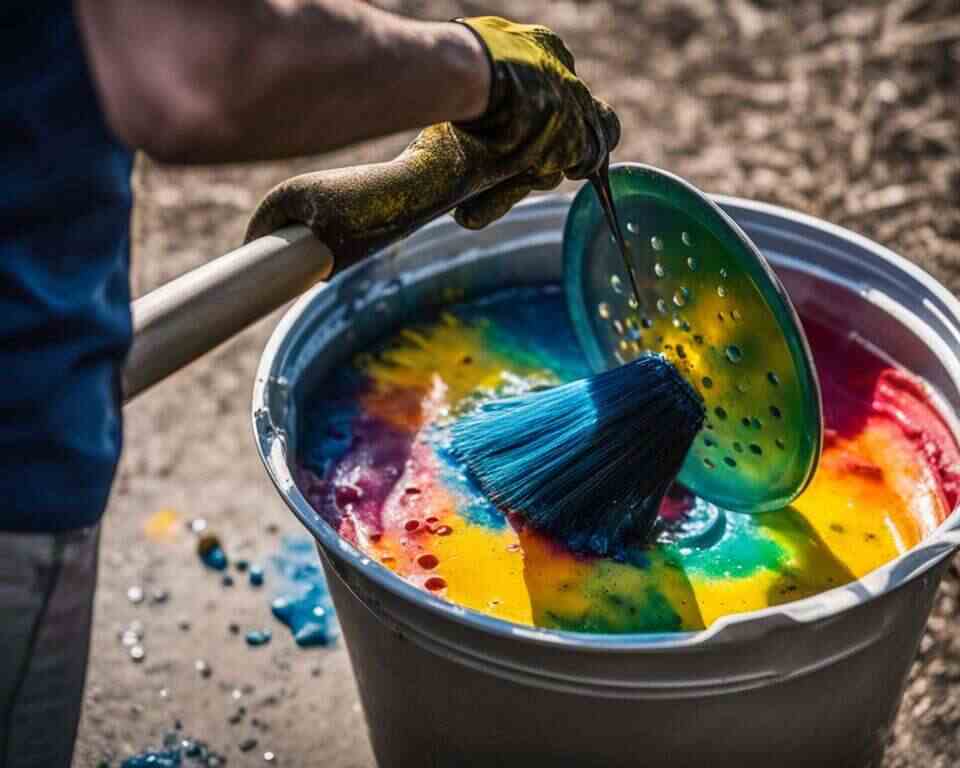
When it comes to disc dyeing, there are a variety of techniques you can use to bring your designs to life. Whether you prefer a simple swirl pattern or a more intricate design, experimenting with different techniques will allow you to create unique and eye-catching disc golf discs.
One popular technique is to create a dye mixture using a base material like clear glue or lotion. By mixing the dyes with the base material, you can create a vibrant and colorful mixture that is easy to work with. Once your dye mixture is ready, you can drop the colors onto the disc and use popsicle sticks or toothpicks to swirl them around, creating beautiful patterns.
Another technique involves using a record player to spin the disc while applying the dye. The spinning motion allows the dye to spread evenly across the disc, resulting in a mesmerizing and symmetrical design. This technique works particularly well for creating geometric patterns and precise designs.
If you’re looking to add intricate details to your disc, using stencils and a vinyl cutter can be a great option. With stencils, you can create precise shapes and images, while a vinyl cutter allows you to cut out intricate designs that can be applied to the disc. This technique opens up a world of possibilities for creating personalized and detailed designs.
Disc Dyeing Techniques
| Technique | Description |
|---|---|
| Swirl | Create a dye mixture using a base material like clear glue or lotion. Drop the colors onto the disc and swirl them around using popsicle sticks or toothpicks. |
| Spin | Place the disc on a record player and spin it while applying the dye. This technique creates symmetrical and mesmerizing designs. |
| Stencil | Use stencils and a vinyl cutter to create precise shapes and images. Apply the stencil to the disc and add dye to create detailed designs. |
These are just a few examples of the many techniques you can use to dye a disc golf disc. The key is to experiment with different methods and find the ones that work best for your desired designs. Remember, the possibilities are endless, so let your creativity run wild and create discs that reflect your unique style!
Disc Dyeing Tips and Tricks
Dyeing a disc golf disc is a creative process that requires some tips and tricks to achieve the best results. Whether you’re a beginner or an experienced disc dyer, these techniques can help you create vibrant and unique designs that reflect your personal style.
Select The Proper Discs
Check this chart for the best plastics for dyeing.
Thoroughly Clean the Disc
Before starting the dyeing process, it’s important to thoroughly clean the disc to ensure proper adhesion. Use mild soap and water to remove any dirt or oils that may be present on the surface. This will help the dye adhere evenly and prevent any unwanted smudging or fading.
Use Small, Precise Brush Strokes
When applying the dye to create detailed designs, use small, precise brush strokes. This will allow you to have better control over the dye and create intricate patterns. Take your time and be patient, as it can be a delicate process. Remember, practice makes perfect!
Allow Proper Dyeing Time
To achieve vibrant colors, it’s important to allow the disc to sit in the dye mixture for at least 24 hours. This will ensure that the dye fully saturates the disc and creates a vibrant design. Patience is key during this process, as rushing the dyeing time may result in faded colors.
Experiment and Have Fun!
One of the best parts of disc dyeing is the ability to experiment with different colors, swirl patterns, and techniques. Don’t be afraid to try new things and let your creativity shine. Each disc you dye is an opportunity to learn and improve your skills. Enjoy the process and have fun!
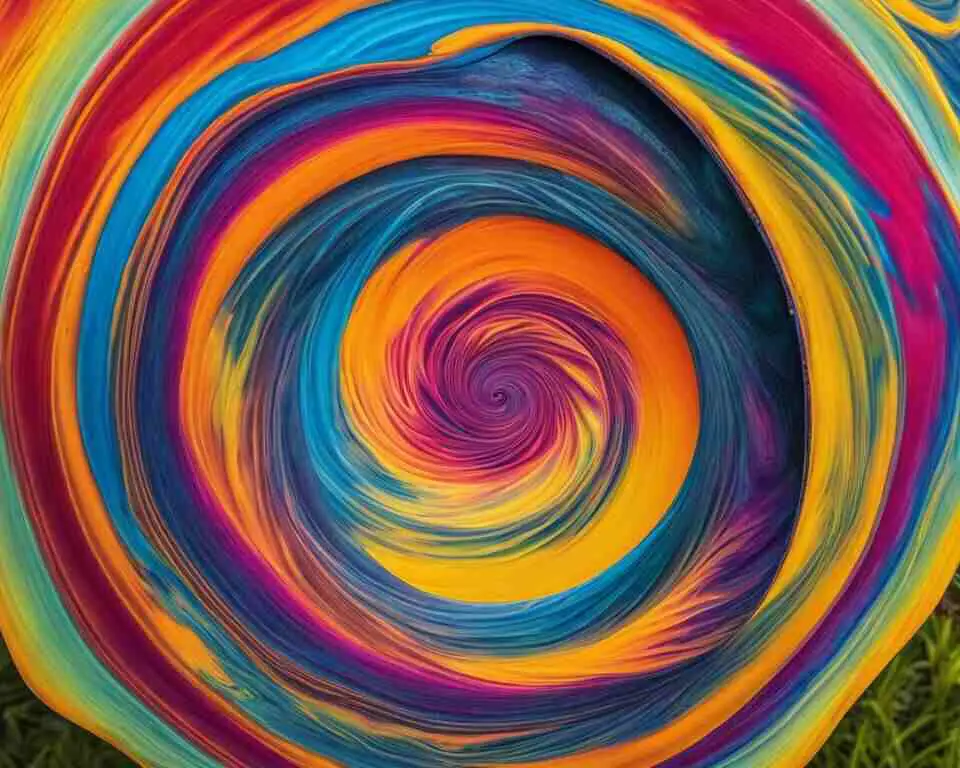
Disc Dyeing Designs and Ideas
When it comes to disc dyeing, the possibilities are endless. With your creativity as the guide, you can transform a plain disc golf disc into a vibrant work of art. Whether you’re looking to create geometric patterns, nature-inspired designs, or sports-themed images, there are plenty of ideas to explore. Let’s delve into some disc dyeing designs and ideas that will inspire your next project.
Geometric Patterns
Geometric patterns are a popular choice for disc dyeing. They offer a visually striking appeal and allow for precise and intricate designs. Consider using masking tape or stencils to create clean lines and angles. Experiment with different shapes such as triangles, squares, or hexagons, and combine them with vibrant colors to make your disc stand out on the course.
Nature-Inspired Designs
Bring the beauty of nature to your disc by incorporating nature-inspired designs. Consider dyeing a serene landscape with mountains, trees, or a flowing river. You can also recreate the patterns and colors found in flowers or sunsets. Let your imagination run wild and capture the essence of the great outdoors on your disc.
Sports-Themed Images
Show your love for your favorite sport by dyeing sports-themed images onto your disc. Whether it’s a football, basketball, or soccer ball, you can create a design that represents your passion. Consider incorporating team logos, player silhouettes, or iconic sports symbols to personalize your disc and showcase your love for the game.
Remember, these are just a few ideas to spark your creativity. Feel free to mix and match different designs, colors, and techniques to create truly unique and personalized discs. The key is to let your imagination flow and enjoy the process of bringing your ideas to life on the disc.
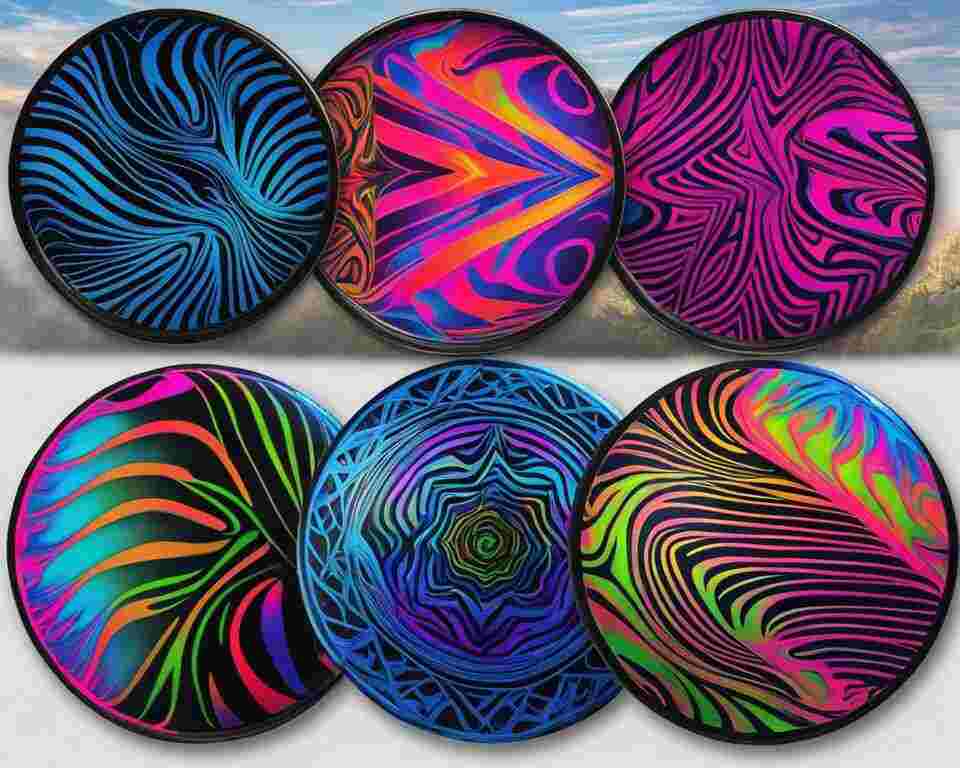
Table: Disc Dyeing Design Ideas
| Design Type | Description |
|---|---|
| Geometric Patterns | Create precise patterns using shapes like triangles, squares, or hexagons. Use vibrant colors to make your design pop. |
| Nature-Inspired Designs | Recreate landscapes, flora, or vibrant sunsets to capture the beauty of nature on your disc. |
| Sports-Themed Images | Show your love for sports by dyeing images of balls, team logos, or player silhouettes on your disc. |
With these design ideas and techniques, you’ll be able to create discs that are true reflections of your personal style and interests. Let your imagination soar and experiment with different colors, patterns, and themes to make your disc truly stand out on the disc golf course.
Step-by-Step Disc Dyeing Instructions
Learning how to dye a disc golf disc is a fun and creative process that allows you to personalize your disc and make it truly unique. Follow these step-by-step instructions to dye your disc with confidence:
1. Preparing the Disc
Start by thoroughly cleaning the disc to remove any dirt, oils, or debris that may affect the dye’s adhesion. Use mild soap and water, and gently wipe the surface with a soft cloth or sponge. Allow the disc to dry completely before moving on to the next step.
2. Creating the Dye Mixture
Mix your chosen dyes with a base material, such as clear glue or lotion, to create your dye mixture. The base material will help the dye adhere to the disc and prevent it from spreading or bleeding. Experiment with different dye-to-base ratios to achieve the desired intensity of color.
3. Applying the Dye
Using a popsicle stick or toothpick, drop the dye mixture onto the disc in your desired pattern or design. Swirl the colors together to create unique effects, or use stencils or vinyl cutouts for more intricate designs. Take your time and be precise with your application to achieve the best results.
4. Allowing the Dye to Set
Once you’ve applied the dye, allow the disc to sit undisturbed for at least 24 hours. This will give the dye enough time to penetrate the disc’s surface and create vibrant, long-lasting colors. You can cover the disc with plastic wrap or place it in a sealable bag to prevent dust or debris from settling on the dye.
Follow these simple steps and let your creativity flow to create stunning, custom-designed disc golf discs that are sure to turn heads on the course.
Disc Dyeing Maintenance and Care
Proper maintenance and care are crucial to preserve the vibrant colors of your dyed disc golf disc. By following these steps, you can ensure that your disc remains in top condition for a long time.
Protect from Heat and Sunlight
Avoid exposing your dyed disc to excessive heat or direct sunlight. Prolonged exposure to these elements can cause the colors to fade over time. Store your disc in a cool, dry place when not in use, such as a disc golf bag or a closet.
Clean Gently
When cleaning your dyed disc, use mild soap and water. Avoid using abrasive materials or harsh chemicals that can damage the dye. Gently wipe the surface of the disc with a soft cloth or sponge to remove any dirt or debris. Take care not to scrub too hard, as this can also rub off the dye.
Store Properly
Storing your dyed disc correctly is essential for maintaining its quality. Keep it in a place where it won’t be squished or bent, as this can damage the dye and distort the design. If possible, store your disc in a disc golf bag or a special disc storage box to protect it from potential damage.
| Do’s | Don’ts |
|---|---|
|
|
By following these maintenance and care tips, you can enjoy your dyed disc golf disc for many rounds to come. Take pride in your customized disc and show off your unique style on the course!
Disc Dyeing FAQs
As you dive into the world of disc dyeing, you may have some questions about the process. Here are answers to frequently asked questions about disc dyeing to help you along your dyeing journey.
1. Can I dye any disc golf disc?
While most disc golf discs can be dyed, it’s important to note that certain discs may not take dye as well as others. Discs made from a more translucent plastic, like Champion or Star plastic, tend to yield better results. However, discs made from opaque plastics, such as DX or D-Line, may result in less vibrant or unpredictable dye outcomes.
2. How long does the dyeing process take?
The duration of the dyeing process depends on several factors, including the dyeing technique, desired color intensity, and the type of dye used. Generally, the dyeing process can take anywhere from a few hours to a few days. It’s important to follow the specific instructions for the dye and technique you are using to achieve the best results.
3. Can I dye over an existing design?
Yes, you can dye over an existing design on a disc. However, it’s important to consider the colors and patterns of the existing design as they may influence the final outcome. Dyeing over an existing design can create interesting and unique effects, so don’t be afraid to experiment!
| Question | Answer |
|---|---|
| Can I dye any disc golf disc? | While most disc golf discs can be dyed, it’s important to note that certain discs may not take dye as well as others. Discs made from a more translucent plastic, like Champion or Star plastic, tend to yield better results. However, discs made from opaque plastics, such as DX or D-Line, may result in less vibrant or unpredictable dye outcomes. |
| How long does the dyeing process take? | The duration of the dyeing process depends on several factors, including the dyeing technique, desired color intensity, and the type of dye used. Generally, the dyeing process can take anywhere from a few hours to a few days. It’s important to follow the specific instructions for the dye and technique you are using to achieve the best results. |
| Can I dye over an existing design? | Yes, you can dye over an existing design on a disc. However, it’s important to consider the colors and patterns of the existing design as they may influence the final outcome. Dyeing over an existing design can create interesting and unique effects, so don’t be afraid to experiment! |
These are just a few of the many questions you may have about disc dyeing. As you continue to explore this creative process, don’t hesitate to experiment, ask fellow disc dyers for advice, and push the boundaries of your designs. Happy dyeing!
Create Your Customized Disc Golf Discs with Confidence
Are you looking to take your disc golf game to the next level? Customizing your discs is a great way to add a personal touch and showcase your unique style on the course. With a few simple supplies and a little creativity, you can create custom dyed discs that are as unique as you are. Whether you’re looking to personalize your discs with your own artwork or experiment with vibrant colors and patterns, dyeing your disc golf discs allows you to showcase your personality and stand out from the crowd.
When it comes to creating customized disc golf discs, the possibilities are endless. You can choose to add your own artwork, create intricate designs, or even experiment with different color combinations. The key is to let your creativity flow and have fun with the process. Whether you’re a beginner or an experienced disc dyer, don’t be afraid to try new techniques and push the boundaries of your designs. After all, your disc golf discs should be a reflection of who you are as a player.
By customizing your disc golf discs, you not only add a personal touch but also make it easier to identify your discs during a game. With unique designs and vibrant colors, your discs will be easily recognizable on the course. Plus, custom dyed discs make great gifts for fellow disc golf enthusiasts. So why settle for plain discs when you can create your own works of art?
So, unleash your creativity and start dyeing your disc golf discs today. Whether you’re looking to personalize your discs, create unique designs, or simply add a pop of color, the possibilities are endless. Have fun, experiment with different techniques, and let your custom dyed discs make a statement on the course. Get ready to turn heads and show off your style with customized disc golf discs that are as unique as you are.
FAQ
What supplies do I need to dye a disc golf disc?
You will need a container to hold the dye mixture, dyes (such as ProChem or iDye Poly), acetone or denatured alcohol, base materials like clear glue or lotion, popsicle sticks or toothpicks, paper towels, gloves, and a magic eraser.
What techniques can I use to dye a disc golf disc?
Some popular techniques include creating a dye mixture with clear glue and dropping colors onto it, using a record player to spin the disc while applying the dye, and using stencils and a vinyl cutter to create intricate designs.
What tips can you provide for achieving the best results when dyeing a disc golf disc?
Some tips include thoroughly cleaning the disc before dyeing, using small, precise brush strokes for detailed designs, allowing the disc to sit in the dye mixture for at least 24 hours, and using a heat lamp or handheld torch to speed up the drying process.
How should I care for a dyed disc golf disc?
To maintain vibrant colors, avoid exposing the disc to excessive heat or direct sunlight. When cleaning the disc, use mild soap and water and avoid abrasive materials. Store the disc in a cool, dry place to prevent moisture damage.
Where can I find inspiration for disc dyeing designs?
Look for inspiration on websites, social media platforms, and disc dyer forums. These resources can provide design ideas and inspiration for creating unique designs on your disc golf discs.
What are some common questions about disc dyeing?
Some common questions include how to dye a disc golf disc step by step, what materials are best for dyeing, and how to preserve the dyed disc over time.
Source Links
- https://www.dgcoursereview.com/threads/disc-painting.59557/
- https://discgolfdojo.com/blog/equipment/materials-list-process-for-disc-dyeing/
- https://www.pdga.com/discussion/archive/t-20383.html