In this comprehensive guide, I will walk you through the process of hydro dipping disc golf discs. Hydro dipping is a unique art technique that allows you to customize your disc golf discs with vibrant and intricate designs.
From choosing the right disc to understanding the hydro dipping technique and using premium plastic types for best results, I will cover everything you need to know to create your own custom disc golf discs through hydro dipping.
Key Takeaways:
- Note: Hydro-dipped discs are visually distinctive, but not allowed in tournament play due to regulations.
- Hydro dipping is an artistic method for customizing disc golf discs, providing a unique touch.
- Selecting an appropriate disc is key to ensuring a successful hydro dipping outcome.
- Familiarity with the hydro dipping technique is essential before initiating the process.
- Opting for premium plastic types contributes to vibrant and enduring results.
Discover the Art of Hydro Dipping Disc Golf Discs
Hydro dipping is a fascinating technique that allows you to customize your disc golf discs with stunning designs. In this section, we will explore the art of hydro dipping disc golf discs and all the essential aspects you need to know to create unique and personalized discs.
Choosing the Right Disc
When it comes to hydro dipping disc golf discs, selecting the right disc is crucial. Consider the type of plastic utilized in the disc’s construction, as it can impact the hydro dipping process and the final result. Different plastic types offer varying levels of stability and grip, so it’s vital to choose a disc that suits your playing style and personal preferences.
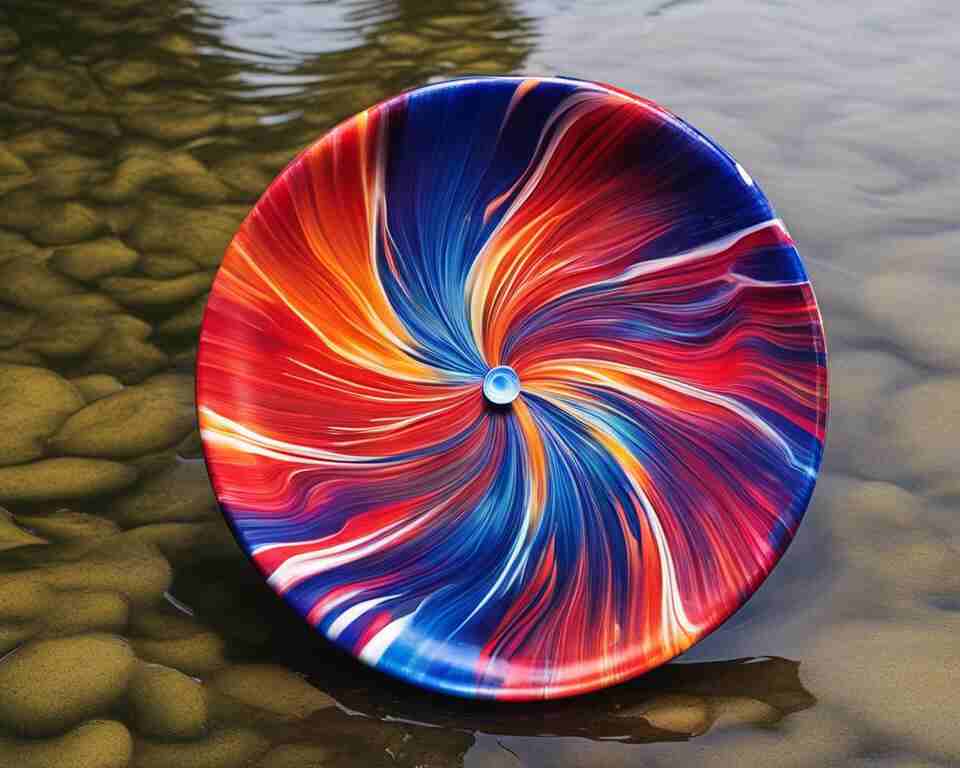
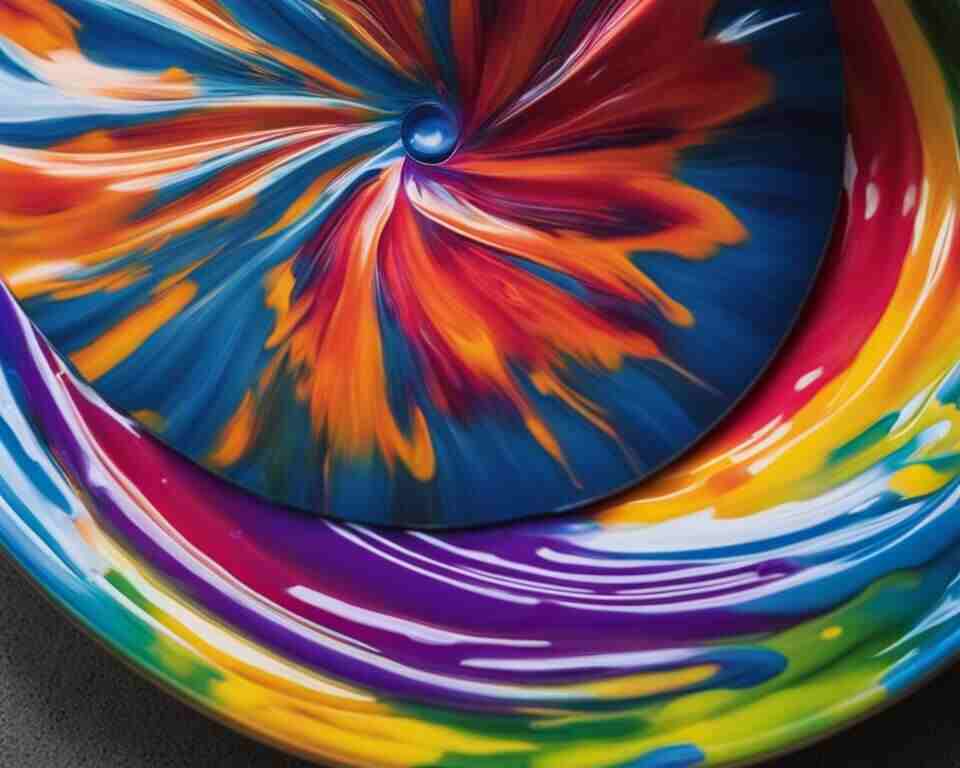
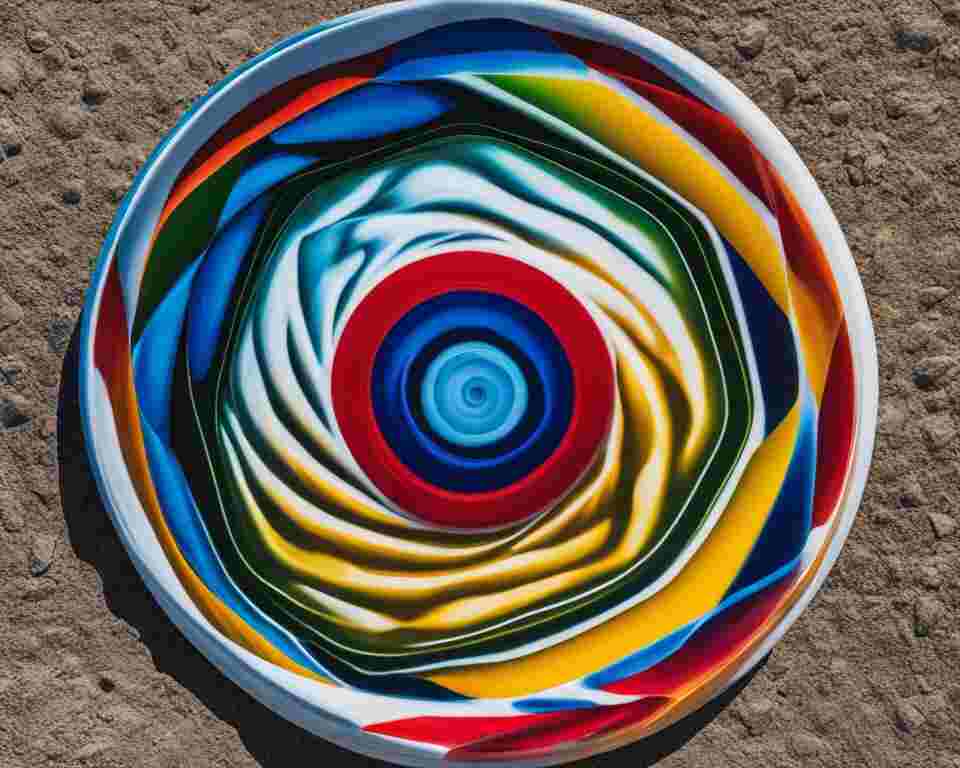
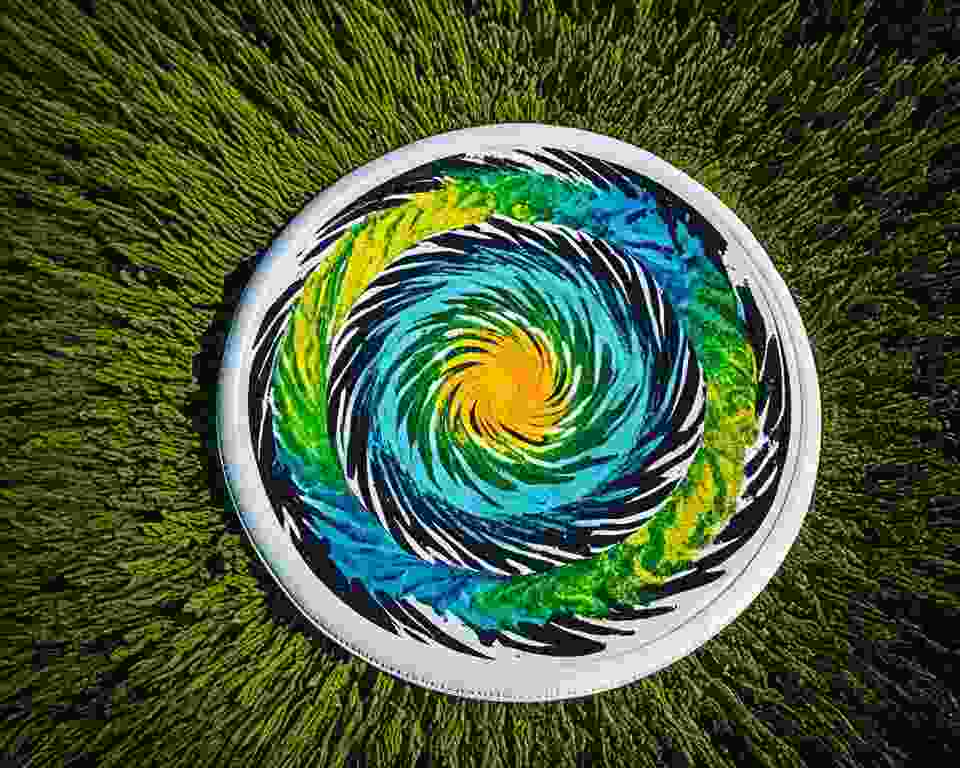
Understanding the Hydro Dipping Technique
The hydro dipping technique involves transferring intricate patterns and designs onto the surface of a disc. It requires a combination of skills, materials, and precision. In this section, we will discuss the step-by-step process of hydro dipping, including preparing the disc, applying the design, and properly dipping the disc to achieve the desired outcome.
Here’s an image that demonstrates the hydro dipping technique:
The Importance of Premium Plastic Types for Vibrant Results
Choosing high-quality plastic types is essential for achieving vibrant and long-lasting designs on hydro dipped disc golf discs. Premium plastic materials provide better adhesion for the hydrographic film and offer enhanced durability, ensuring that your customized discs retain their vibrant colors and patterns over time.
Can You Hydro Dip a Disc Golf Disc: A Detailed Tutorial
In this section, I will provide you with a step-by-step tutorial on how to hydro dip a disc golf disc. By following these instructions, you’ll be able to create stunning and personalized designs on your disc golf discs.
Preparation
Before you begin the hydro dipping process, it’s important to properly prepare your disc. Start by cleaning the disc with soap and water to remove any dirt or oils. Dry it thoroughly with a clean cloth.
Gather the necessary materials for hydro dipping. You’ll need:
- A container large enough to hold your disc
- Hydrographic film with the design of your choice
- Hydrographic activator
- A pair of gloves
- Masking tape
- Clean water
The Hydro Dipping Process
Now let’s dive into the hydro dipping process:
- Fill the container with clean water. The water should be deep enough to fully submerge the disc.
- Place the hydrographic film on the surface of the water. Adjust the position as needed to ensure the design covers the entire disc.
- Activate the hydrographic film by spraying a generous amount of hydrographic activator onto its surface. Be sure to follow the manufacturer’s instructions for the specific activator you are using.
- Wearing gloves, carefully dip the disc into the water. Submerge it slowly and at a slight angle to avoid air bubbles.
- Gently swirl the disc in the water to ensure the design transfers evenly onto its surface. Take your time to achieve the desired coverage and pattern.
- Once the design is fully transferred, carefully lift the disc out of the water and hold it above the container to let any excess water drip off.
- Use a clean cloth to blot the disc and remove any remaining water or activator residue.
- Let the disc dry completely before handling or applying any protective sealant. This can take several hours or overnight, depending on the temperature and humidity.
Tips for Hydro Dipping Disc Golf Discs
To ensure the best results with your hydro dipped disc golf discs, keep the following tips in mind:
- Choose high-quality hydrographic film and activator for vibrant and durable designs.
- Experiment with different dipping techniques and patterns to create unique designs.
- Practice on a few disposable discs before hydro dipping your favorite discs.
- Take your time during each step to achieve the desired results.
- Protect your hydro dipped disc by applying a clear sealant or topcoat to prevent the design from fading or peeling.
With this detailed tutorial and helpful tips, you’re now equipped to confidently hydro dip your own disc golf discs and take your customization game to the next level. Enjoy the artistic and personalized journey of hydro dipping!
Tournament Compliance
Hydro dipping your disc can impart a distinctive appearance, setting it apart from others. However, it’s crucial to note that using hydro dipped discs in tournaments is prohibited according to Rule 813.01 of the PDGA. The rule stipulates that any modification to a disc post-production, altering its original flight characteristics, renders it illegal.
Exceptions are made for wear during play and moderate sanding for imperfections or scrapes. Discs excessively sanded or dyed or painted with a material of detectable thickness are deemed illegal. The addition of devices to enhance visibility is allowed only in specific conditions, such as night or snow play, announced by the Director.
Conclusion
After exploring the art of hydro dipping disc golf discs, we have come to understand its advantages, drawbacks, and best practices. Hydro dipping offers a fantastic opportunity to customize your disc golf discs with unique and vibrant designs, allowing you to express your personal style on the course. The ability to create eye-catching discs that stand out from the crowd is undoubtedly one of the main advantages of hydro dipping.
However, it’s essential to consider a few drawbacks before diving into the world of hydro dipping. One potential downside is that the customization process may slightly alter the weight and flight characteristics of the disc. Additionally, if not properly sealed and maintained, the design on the disc may fade or peel over time. Being aware of these considerations will help you make informed decisions when hydro dipping your disc golf discs.
To achieve lasting results with your hydro dipped discs, it’s crucial to follow some best practices. Ensure the disc is clean and free from any oils or debris before applying the design. Use high-quality materials and follow the hydro dipping process carefully. Once the design is complete, seal the disc to protect it from weathering and maintain its vibrant appearance. By following these best practices, you can enjoy your customized discs for many rounds to come.
Lastly, don’t keep your custom disc golf discs to yourself – share them with the community! Whether it’s through social media platforms or local disc golf events, showcasing your creations can inspire and engage fellow disc golf enthusiasts. Sharing your custom disc golf discs not only promotes your creativity but also allows you to connect with like-minded individuals and contribute to the vibrant disc golf community.
Source Links
- https://udisc.com/blog/post/how-to-dye-a-disc-golf-disc-easy-step-by-step-guide
- https://discdyeing.com/how-to-dye-discs-with-clear-school-glue/
- https://prochemicalanddye.net/downloads/dl/file/id/574/product/0/disc_golf_disc_dyeing.pdf