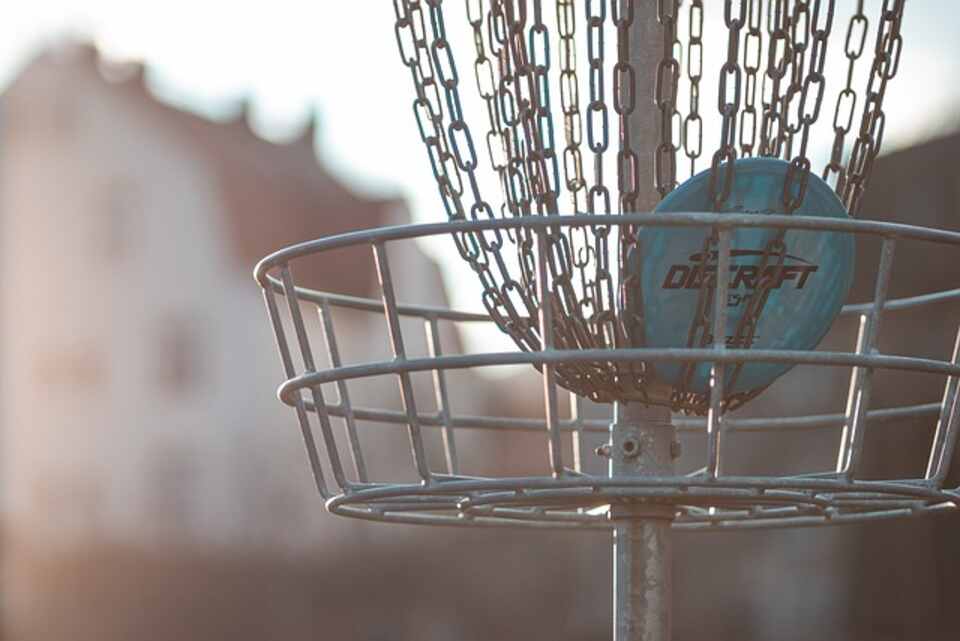
Are you passionate about disc golf and looking to improve your game? Building a disc golf basket at home is a great way to enhance your disc golfing experience.
Not only is it a cost-effective option, but it also allows you to add a personal touch to your outdoor activities. In this article, I will guide you through the process of creating your own disc golf basket with easy-to-follow instructions and clear visual illustrations.
Before we get started, it’s important to note that building a disc golf basket requires some basic materials and tools. Don’t worry, everything you need can be easily obtained from your local hardware store. Let’s dive into the details and explore the step-by-step process of making a disc golf basket at home.
Key Takeaways:
- Creating a homemade disc golf basket is an affordable way to bring the game home and add a personal touch to your outdoor activities.
- By following the provided step-by-step tutorials, you can easily build your own disc golf basket.
- Ensure your DIY disc golf basket is regulation size by referring to the PDGA disc golf basket dimensions.
- Gather the necessary materials and tools before starting the construction process.
- Once your disc golf basket is complete, test it out and enjoy the game with friends and family in the comfort of your own backyard.
Gather the Materials
In order to make a disc golf basket, you will need various materials. Here is a list of the items you will need:
- 1 plastic 55-gallon drum
- 3 PVC 3″ Closet Flanges
- 3 PVC 3″ to 2″ step-down bushings
- 63″ of 2″ PVC Schedule 40 pipe
- 31′ of 2/0 chain Passing Link
- 15 #60 S-Hooks
- 1 3″ diameter hinged binder ring
- 4 ¼ – 20 x 1 ½” Carriage bolts
- 4 ¼ – 20 x 2″ hex-head bolts
- 8 ¼ – 20 nuts
- 8 ¼” flat washers
- 8 ¼” lock washers
- PVC cement
- Redi-mix concrete cement
These materials will provide everything you need to construct your own disc golf basket.
Table: Disc Golf Basket Materials
| Quantity | Item |
|---|---|
| 1 | Plastic 55-gallon drum |
| 3 | PVC 3″ Closet Flanges |
| 3 | PVC 3″ to 2″ step-down bushings |
| 63″ | 2″ PVC Schedule 40 pipe |
| 31′ | 2/0 chain Passing Link |
| 15 | #60 S-Hooks |
| 1 | 3″ diameter hinged binder ring |
| 4 | ¼ – 20 x 1 ½” Carriage bolts |
| 4 | ¼ – 20 x 2″ hex-head bolts |
| 8 | ¼ – 20 nuts |
| 8 | ¼” flat washers |
| 8 | ¼” lock washers |
| 1 | PVC cement |
| 1 | Redi-mix concrete cement |
Prepare the Base
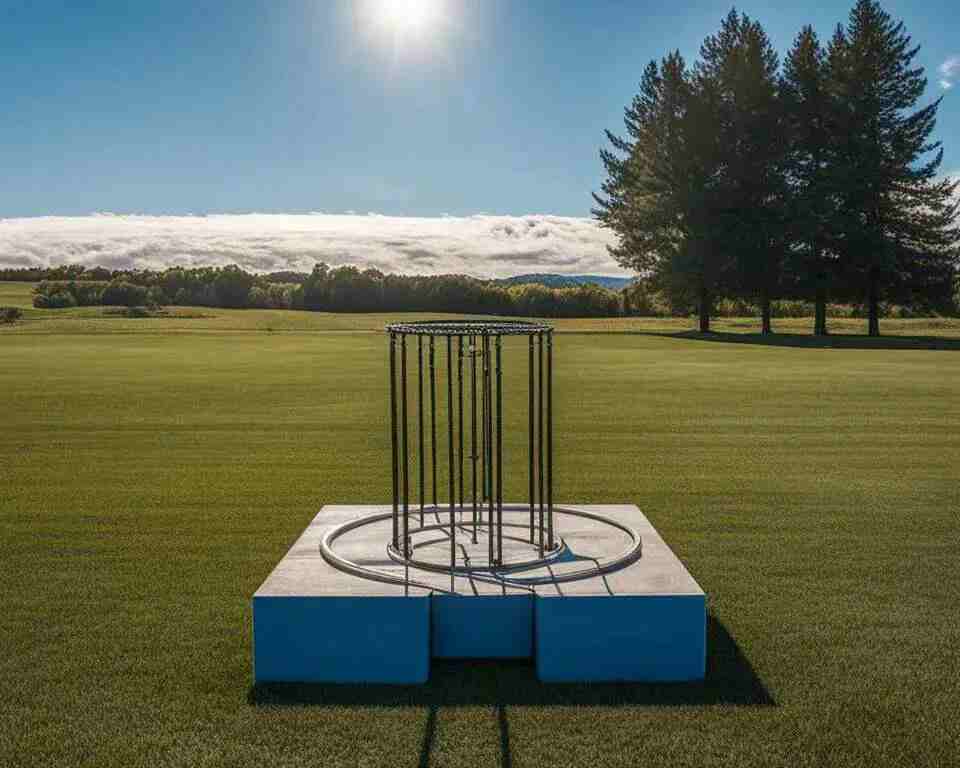
Before you can start assembling your homemade disc golf basket, it’s crucial to prepare a solid and stable base. This ensures that your basket will stand securely and withstand the rigors of the game. Follow these steps to prepare the base for your disc golf basket:
Step 1: Location and Hole
Choose a suitable location in your yard or outdoor space for the disc golf basket. It should be an area where you have enough space to throw and play comfortably. Once you have selected the spot, dig a hole with a diameter of approximately 8 inches and a depth of 12 inches. This hole will serve as the foundation for your disc golf basket.
Step 2: Center Post and Cement
Insert a 2″ PVC pipe into the center of the hole to create a sturdy post. Position it vertically and make sure it is centered. To secure the post in place, pour Redi-mix concrete cement around it. Follow the instructions on the cement packaging for the correct mixing ratio and drying time. Allow the cement to set overnight to ensure a strong and stable base for your disc golf basket.
Step 3: Leveling
After the cement has fully set, check the levelness of the base. Use a bubble level to ensure that the post is perfectly vertical and that the top surface is level. Make any necessary adjustments by adding or removing soil until the base is completely level. A level base is essential for accurate gameplay and prevents any wobbling or instability of the disc golf basket.
| Materials | Tools |
|---|---|
| – 2″ PVC pipe | – Shovel |
| – Redi-mix concrete cement | – Bubble level |
| – Soil | – Measuring tape |
| – Water |
By following these steps, you can ensure a solid and secure base for your homemade disc golf basket. This will provide the stability needed for accurate gameplay and allow you to enjoy the game for years to come.
Cut the Components
When it comes to creating your own disc golf basket, precision is key. In this section, we will discuss the process of cutting the necessary components to ensure your homemade basket meets the required dimensions. Let’s dive in!
First, grab your plastic 55-gallon drum and measure 8″ from the rim. Using a saw or appropriate cutting tool, carefully cut along this line to create the basket. Remember to wear protective gear while cutting to ensure your safety.
Next, it’s time to cut the top of the disc golf basket. Measure 4″ from the bottom of the drum and make a clean cut. This piece will serve as the top of your basket, completing the structure.
Finally, let’s cut the PVC pipe. Take a 2″ PVC pipe and cut it into two lengths: 27″ and 36″. These pieces will be used to create the inner pipe and base pole of the basket, respectively. Ensure that your cuts are precise and straight for a sturdy and professional-looking final product.
Table: Dimensions for Disc Golf Basket Components
| Component | Length |
|---|---|
| Basket | 8″ from rim |
| Top | 4″ from bottom |
| Inner Pipe | 27″ |
| Base Pole | 36″ |
By following these cutting instructions and using the provided dimensions, you can ensure that your DIY disc golf basket meets the necessary specifications. Remember to double-check your measurements before cutting and take your time to achieve clean and accurate cuts. With the components prepared, we are ready to move on to the assembly process.
Drill Holes
Once you have cut the components for your disc golf basket, it’s time to drill the necessary holes for assembly. The drilling process is crucial for attaching chains and securing different parts of the basket together.
To start, use a 13/64″ drill bit to create evenly spaced holes in the rim of the basket. These holes will be used to attach the chains that catch the disc. Make sure to drill the holes about 1/2″ up from the lip of the rim for optimal performance.
In addition to drilling holes in the rim, you’ll also need to drill holes in the bottom of the basket and the top for attaching the PVC flanges. Use a 1/4″ drill bit for this step. These holes are important for securing the flanges and ensuring the stability of the basket.
Remember to use the provided hardware, such as bolts and washers, to securely attach the flanges to the basket. This will ensure that all components are properly assembled and ready for use.
| Materials | Tools |
|---|---|
| – Plastic 55-gallon drum | – 13/64″ drill bit |
| – PVC flanges | – 1/4″ drill bit |
| – Bolts and washers | – Power drill |
| – Chains |
Key Points:
- Drill evenly spaced holes in the rim of the basket to attach the chains.
- Drill holes in the bottom and top of the basket for attaching the PVC flanges.
- Use a 13/64″ drill bit for the rim holes and a 1/4″ drill bit for the bottom and top holes.
- Securely attach the flanges using the provided hardware to ensure stability.
Assemble the Components
Now that you have gathered all the necessary materials, it’s time to start assembling your homemade disc golf basket. Follow these step-by-step instructions to ensure a smooth construction process.
1. Bond the PVC bushings
Begin by bonding the PVC bushings to the ends of the 27″ PVC pipe. Apply PVC cement to the inside of the bushing and slide it onto the pipe. Make sure it is securely attached. Repeat this process for both ends of the 27″ pipe.
2. Attach the PVC flanges
Next, attach the PVC flanges to both ends of the 27″ pipe. Use the provided bolts to secure them in place. Make sure they are tightly fastened to ensure stability. Attach the other PVC flange to one end of the 36″ PVC pipe. This will serve as the base pole for the basket.
3. Secure the components
Slide the 27″ pipe with the attached flanges into the top of the basket. Use the provided hardware to secure it in place. This will create the inner pipe of the basket. Then, place the 36″ pipe with the attached flange into the bottom of the basket. This will serve as the base pole.
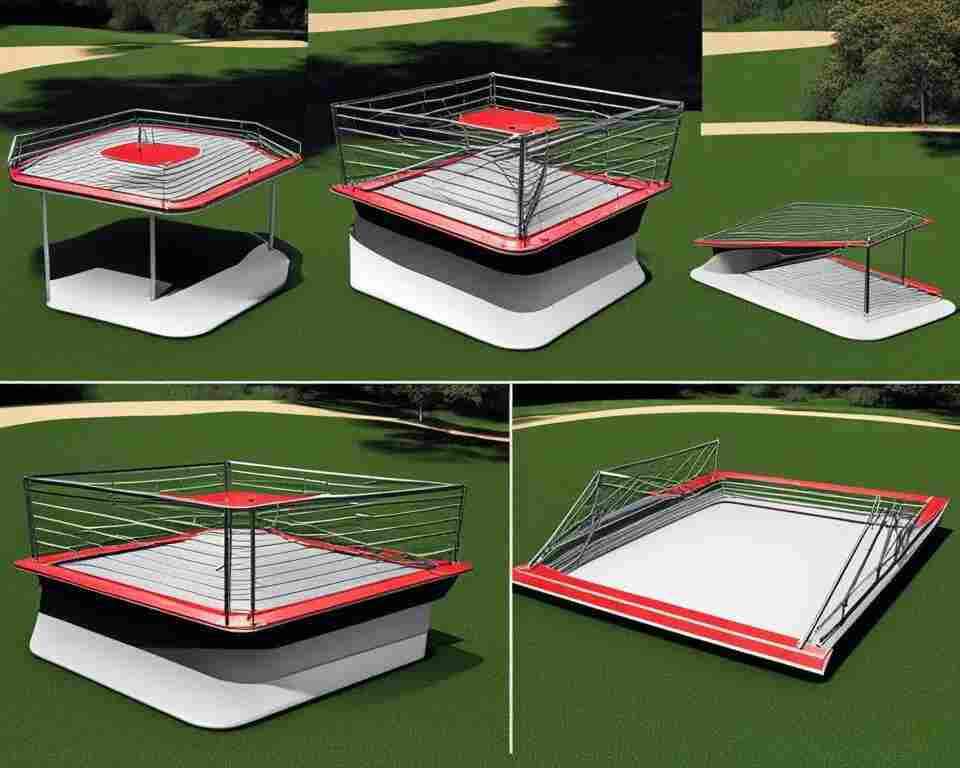
With the components securely assembled, your homemade disc golf basket is now ready for the finishing touches. In the next section, we will cover how to cut and attach the chains, as well as optional steps for sanding and painting the basket.
Cut and Attach the Chains
Now that the main components of the disc golf basket are assembled, it’s time to cut and attach the chains. This step is crucial as the chains play a vital role in catching the disc and keeping it in the basket. Use a grinder with a composite blade or a reciprocating saw to cut the chain into 24″ lengths.
Ensure that the chains are evenly spaced around the basket for optimal performance. Attach the chains to the basket using S-hooks, making sure they are securely fastened. To gather the chains at the center, use a 3″ diameter hinged binder ring. This will help create a focused target area for the disc to land in.
Properly cutting and attaching the chains is essential for the disc golf basket to function effectively. By following these steps, you’ll have a well-constructed DIY disc golf basket ready for exciting gameplay.
Table: Materials for Cutting and Attaching the Chains
| Materials | Quantity |
|---|---|
| Chain (2/0 Passing Link) | 15 |
| S-Hooks | 15 |
| 3″ Diameter Hinged Binder Ring | 1 |
| Composite Blade or Reciprocating Saw | 1 |
Quotes:
“Cutting and attaching the chains is a critical step in constructing a disc golf basket. Properly spaced and securely fastened chains ensure the disc stays in the basket when successfully thrown.” – Disc Golf Enthusiast
- Use a grinder with a composite blade or a reciprocating saw to cut the chain into 24″ lengths.
- Attach the chains to the basket using S-hooks.
- Gather the chains at the center using a 3″ diameter hinged binder ring.
Sand and Paint (Optional)
If you want to add a finished look to your homemade disc golf basket, you can choose to sand and paint it. This step is optional but can enhance the visual appeal of your basket and help it blend seamlessly into your outdoor space. Sanding the edges of the cut drum will ensure a smooth and polished finish. Use fine-grit sandpaper to gently sand the edges, removing any roughness or sharpness.
Once you have sanded the drum, you can proceed to paint it. Select a paint color that reflects your personal style or matches the aesthetics of your backyard. Consider using durable outdoor paint that can withstand exposure to the elements. Before painting, ensure that the drum is clean and free from any dust or debris. Apply multiple coats of paint, allowing each coat to dry completely before applying the next.
For added customization, you can also consider adding stencils or designs to your painted disc golf basket. This allows you to personalize the basket further and make it truly unique to your own preferences. Use acrylic paint and stencils to create patterns or images on the drum’s surface. Allow the paint to dry completely before using the disc golf basket to prevent any smudging or smearing.
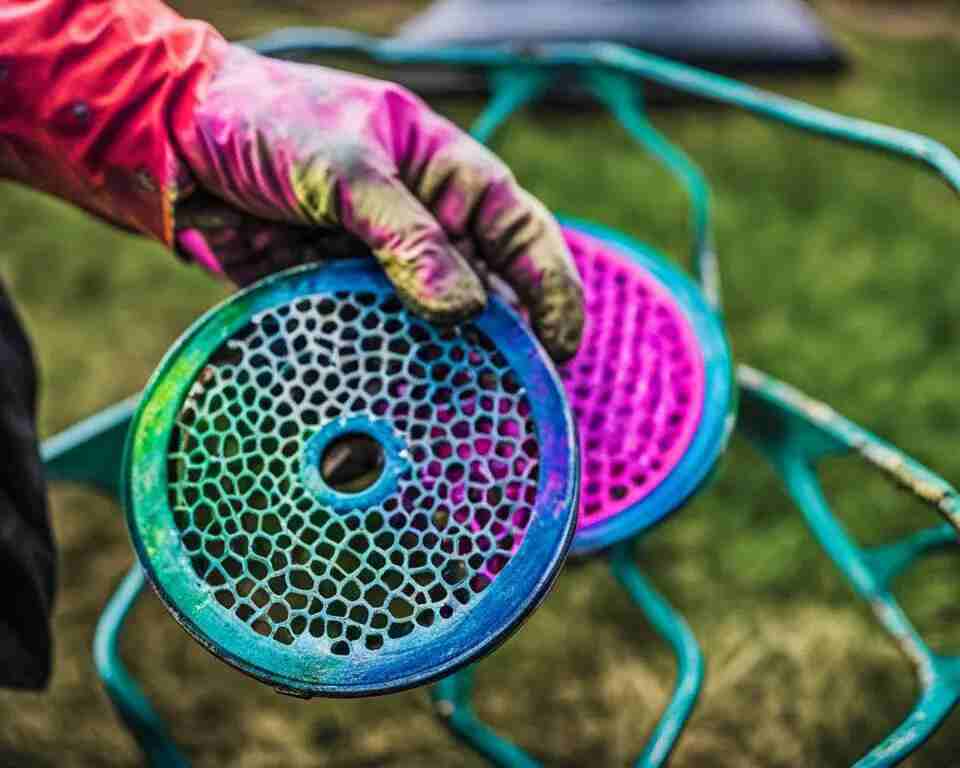
By sanding and painting your homemade disc golf basket, you can achieve a professional-looking finish that enhances its overall appearance. Not only does it add a touch of personalization, but it also helps protect the materials from weathering and extends the lifespan of your basket. Take your time with this optional step to ensure a smooth and flawless finish that will make your disc golf basket stand out in any outdoor setting.
Test and Enjoy
Now that your DIY disc golf basket is fully assembled, it’s time to put it to the test! Take it to your desired location, whether it’s your backyard or a local park, and start practicing your disc golf skills. Gather your friends and family for a friendly competition and enjoy the game together.
Test the performance of your homemade disc golf basket by throwing discs from different distances and angles. Observe how the chains catch the discs and ensure that they provide a satisfying and fair challenge. Pay attention to the stability of the basket and the overall durability of the construction.
Playing with your homemade disc golf basket not only allows you to improve your skills but also adds a personal touch to your disc golfing experience. You can customize the basket to match your preferences and style, making it a unique addition to your outdoor space.
Disc Golf Basket Testing Tips:
- Experiment with different throwing techniques and angles to test the catching ability of the chains.
- Invite friends and family to play and gather feedback on the performance of the basket.
- Challenge yourself by setting up various target positions and distances to improve your skills.
- Take note of any adjustments or modifications needed to enhance the functionality of your homemade disc golf basket.
Quotes:
“I love being able to practice my disc golf skills in my own backyard with the DIY basket I made. It’s convenient and adds a fun element to my outdoor activities.” – Disc Golf Enthusiast
“Building my own disc golf basket was a rewarding experience, and now I can enjoy the game wherever I want. It’s a great way to spend quality time with friends and family.” – DIY Enthusiast
Summary:
Testing and enjoying your homemade disc golf basket is a crucial step in the DIY process. Put your basket to the test by playing disc golf with friends and family, and observe how it performs in terms of catching the discs and overall durability.
Experiment with different throwing techniques and distances to challenge yourself and improve your skills. Don’t forget to gather feedback and make any necessary adjustments to enhance the functionality of your DIY disc golf basket.
Table: Disc Golf Basket Performance Evaluation
| Performance Criteria | Rating (1-5) |
|---|---|
| Catching Ability of Chains | 4 |
| Stability of the Basket | 5 |
| Durability of Construction | 4 |
| Customizability | 3 |
Conclusion
After following the step-by-step instructions and using easily accessible materials, I successfully built my own disc golf basket at home. The process was not only rewarding but also cost-effective, allowing me to enhance my disc golfing experience without breaking the bank.
Having my DIY disc golf basket in my backyard has provided endless hours of fun and entertainment for both myself and my friends and family. We can now practice our disc golf skills and enjoy the game anytime we want, right in the comfort of our own space.
Creating a homemade disc golf basket was a fantastic way to add a personal touch to our outdoor activities. I highly recommend this DIY project to anyone looking to bring the game of disc golf home. With the right materials and a little bit of effort, you too can enjoy the game of disc golf with your very own homemade disc golf basket.
FAQ
What materials do I need to make a disc golf basket?
To make a disc golf basket, you will need a plastic 55-gallon drum, PVC pipes and flanges, chain passing links, S-hooks, bolts, nuts, washers, PVC cement, and concrete cement.
How do I prepare the base for the disc golf basket?
Start by digging a hole in the ground where you want to place the disc golf basket. The hole should be about 8″ in diameter and 12″ deep. Use a 2″ PVC pipe to create a center post in the hole and pour cement around it to secure it in place. Allow the cement to set overnight.
How do I cut the components for the disc golf basket?
Cut the plastic 55-gallon drum to create the basket and top of the disc golf basket. The basket should be cut 8″ from the rim, while the top should be cut 4″ from the bottom. Cut the 2″ PVC pipe into two lengths, 27″ and 36″, to create the inner pipe and base pole of the basket.
How do I attach the chains to the disc golf basket?
Cut the chain into 24″ lengths using a grinder with a composite blade or a reciprocating saw. Attach the chains to the basket using S-hooks and gather them at the center using a 3″ diameter hinged binder ring. Ensure that the chains are evenly spaced and securely attached to the basket.
Can I paint the disc golf basket?
Yes, you can sand the edges of the cut drum and paint the basket to add a finished look. Choose a color that suits your personal preference or matches your existing outdoor decor. Allow the paint to dry completely before using the disc golf basket.
How do I test the disc golf basket?
Once the disc golf basket is fully assembled, take it to your desired location and test it out. Practice your disc golf skills and enjoy the game with friends and family. The homemade disc golf basket provides an affordable way to enjoy disc golf in the comfort of your own backyard.

